Drywall & Texture Repair
Powerful as it is, drywall can solely withstand limited abuse. For small holes, like these created by a doorknob, a patch package may be used. Match the gypsum into the new gap and press the paper edges coated with joint compound into place alongside the surface fringe of the hole. Drywall knife to apply drywall compound over the mesh. A popped nail isn’t holding in the stud and backs out of the drywall, making a popped nail head.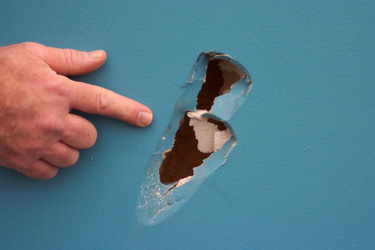

You do not wish to apply too much compound, or sand an excessive amount of away, in anybody step. In any other case the topcoat will take up into the patch and make the area look different from the encompassing paint. Drywall is comparatively simple to put in and easy to restore. Be sure it is the same thickness because the drywall already present. Use a utility knife to cut vertically along the drywall, connecting the highest and bottom cuts from the hacksaw on the left and proper sides.
For holes larger than 6 inches, you may create a drywall patch with a distinct attachment methodology for the repair. Where a number of screws are placed in a row, spot-patch each with compound and cover them with a strip of fiberglass tape as described within the steps above (image three). In addition to the patch, you want drywall patching compound to easy out the patch and a putty knife to unfold the drywall compound over the patch.
Bigger holes in a wall require a patch made from drywall, which can be generally known as wall board or gypsum board. For those who’re patching numerous holes and different harm, prime the patched walls before repainting – especially if you’re choosing a semi-gloss or shinier end. Retape the joint following the methods shown in Step 1 of this how one can repair drywall article.
Use a drywall saw to chop out the drawn space. Mix a tablespoon or two of water into three or 4 cups of the joint compound to make it simpler to unfold. Next, place the drywall patch over the outlet within the wall and hint the shape on the wall with a pencil. (It’s not essential to bolster the horizontal edges of the substitute drywall.) Secure the 2x4s to the drywall with drywall screws (image 4). Set the brand new drywall into the opening and secure to the 2x4s with screws.